Vulcan's Fixes
A throwback to a carefree past, and perhaps the dawn of a renewed passion.
Rediscovering my love for hardware design and prototyping, and documenting the process along the way.
Dual Sponge Holder
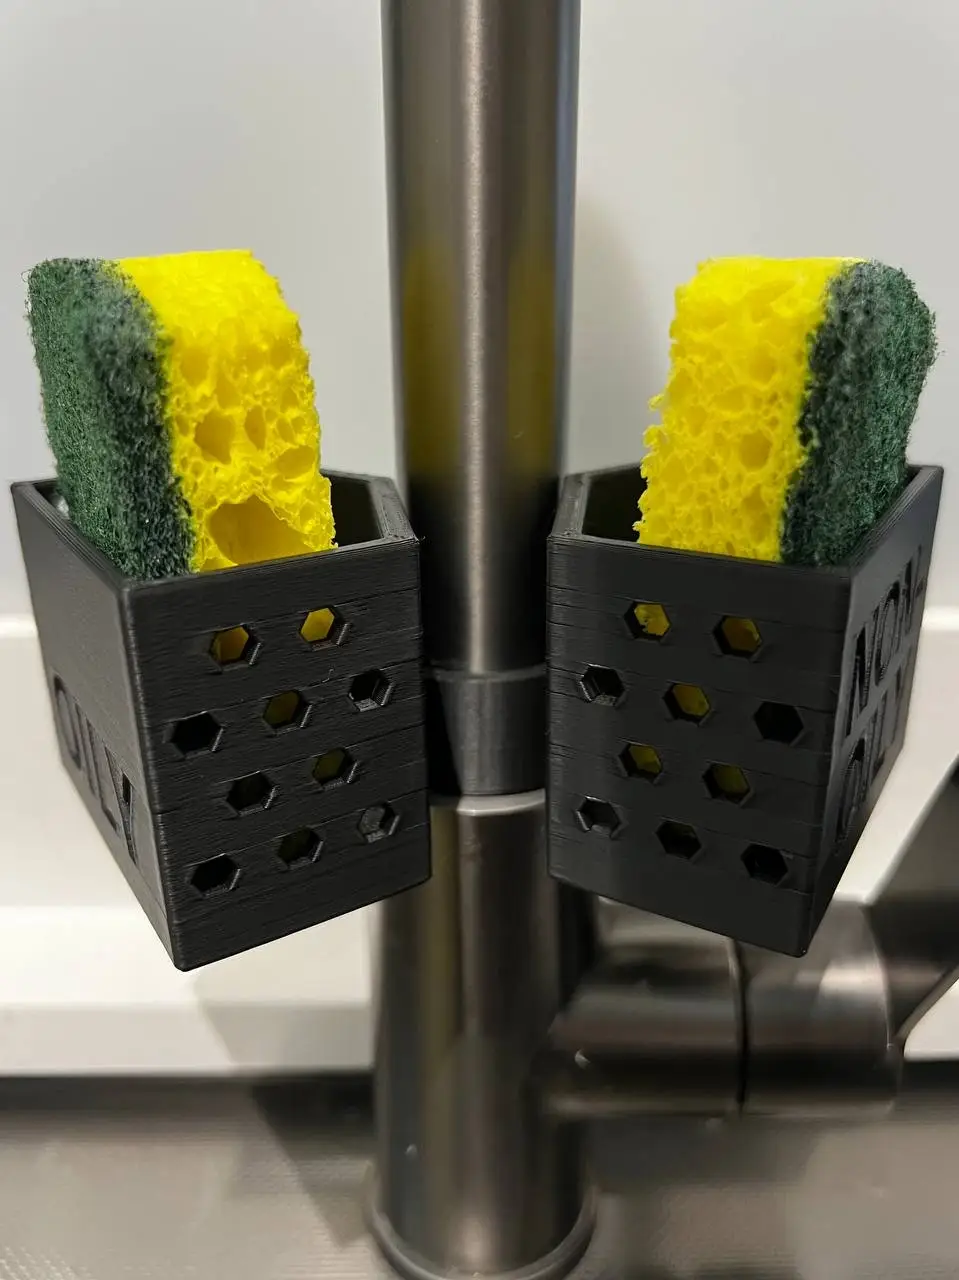 Final Product: Dual Sponge Holder
Technical Details
- Material: PLA (Black)
- Print Time: ~5 hours
- Layer Height: 0.2mm
- Support: No
- Post-Processing: Adhesive rubber pads inside the clamp for additional grip and scratch prevention
Design Process
In our household, we make it a point to use separate kitchen sponges for oily and non-oily utensils. The problem is that they are the same brand and type, so they constantly get mixed up. Most sponge holder designs available online only hold one sponge, and many of them do not perfectly fit the diameter of our faucet spout.
Because of that, I decided to design and fabricate a custom dual sponge holder tailored specifically to our needs and sized to fit our faucet. I started by measuring the diameter of the faucet spout and the dimensions of our kitchen sponges. With those measurements in hand, I first designed the mounting mechanism. I went with a clamp-based design to better tolerate printing inaccuracies and possible material shrinkage.
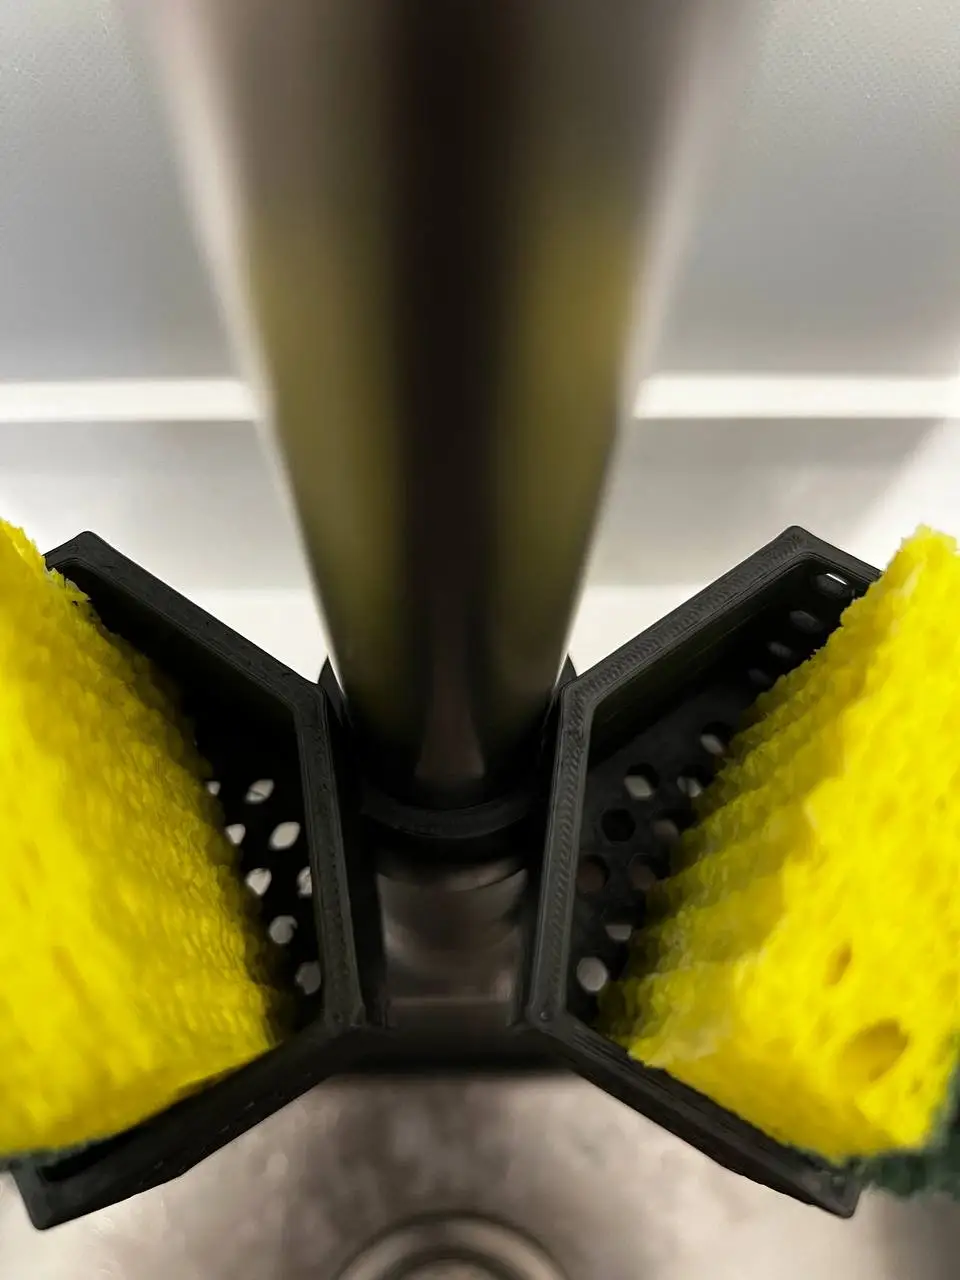 Clamp design, simple yet effective.
Next, I designed the left sponge holder and added hexagonal cutouts on the bottom and sides to improve ventilation and drainage. These cutouts also help reduce filament usage without sacrificing structural strength. I chose hexagons because they can be printed vertically without requiring support material.
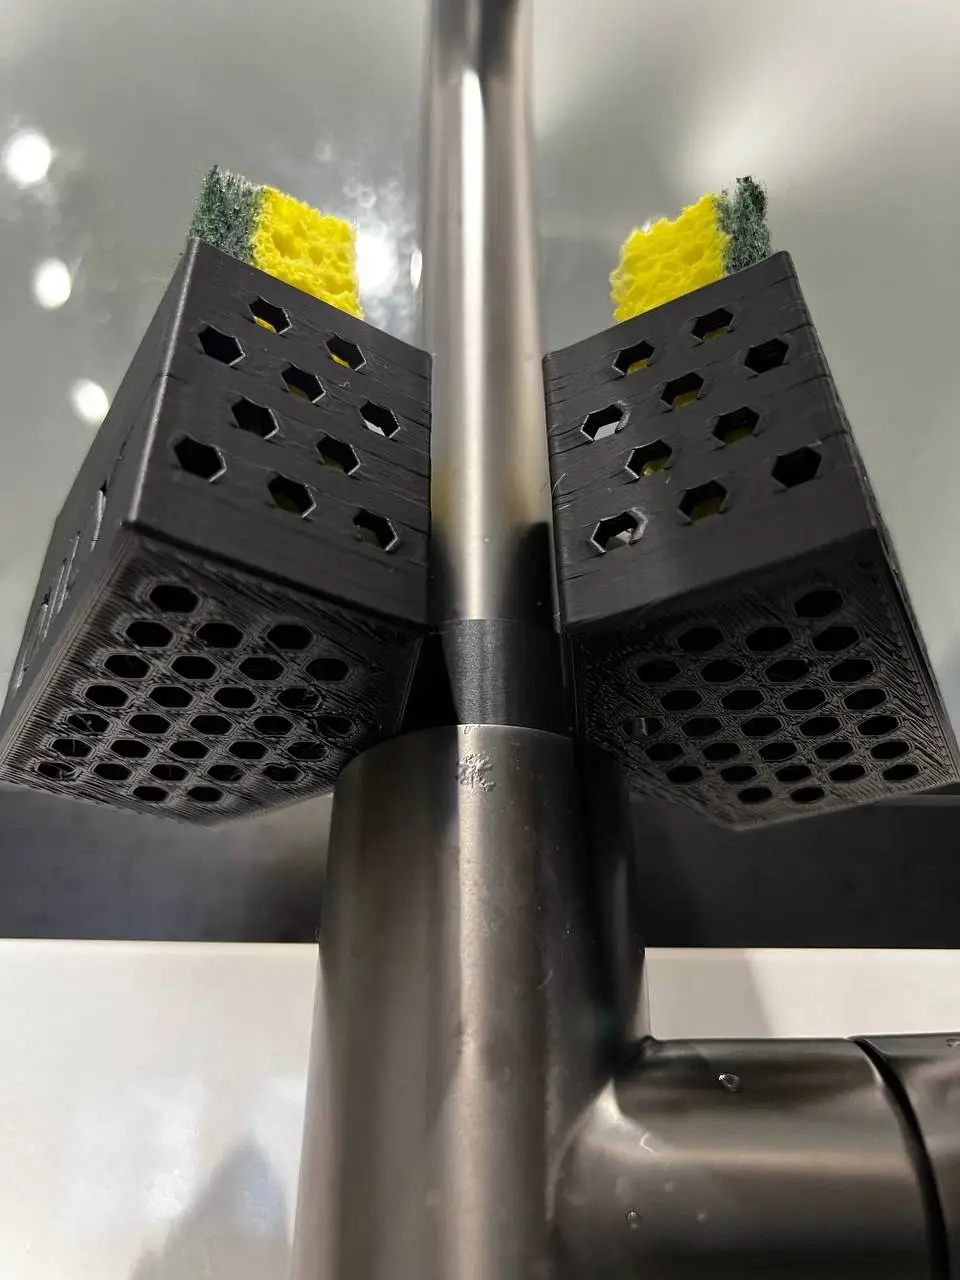 Hexagonal bottom drain and ventilation cutouts
Rather than redesigning everything for the right side, I simply mirrored the left holder in Onshape. Once both holders were in place, the final step was adding letter debossing to distinguish between the "OILY" and "NON-OILY" sides. The debossing depth was set to just 1mm so that no support material was needed and floating details, like the center of the letter "O", would not fall off.
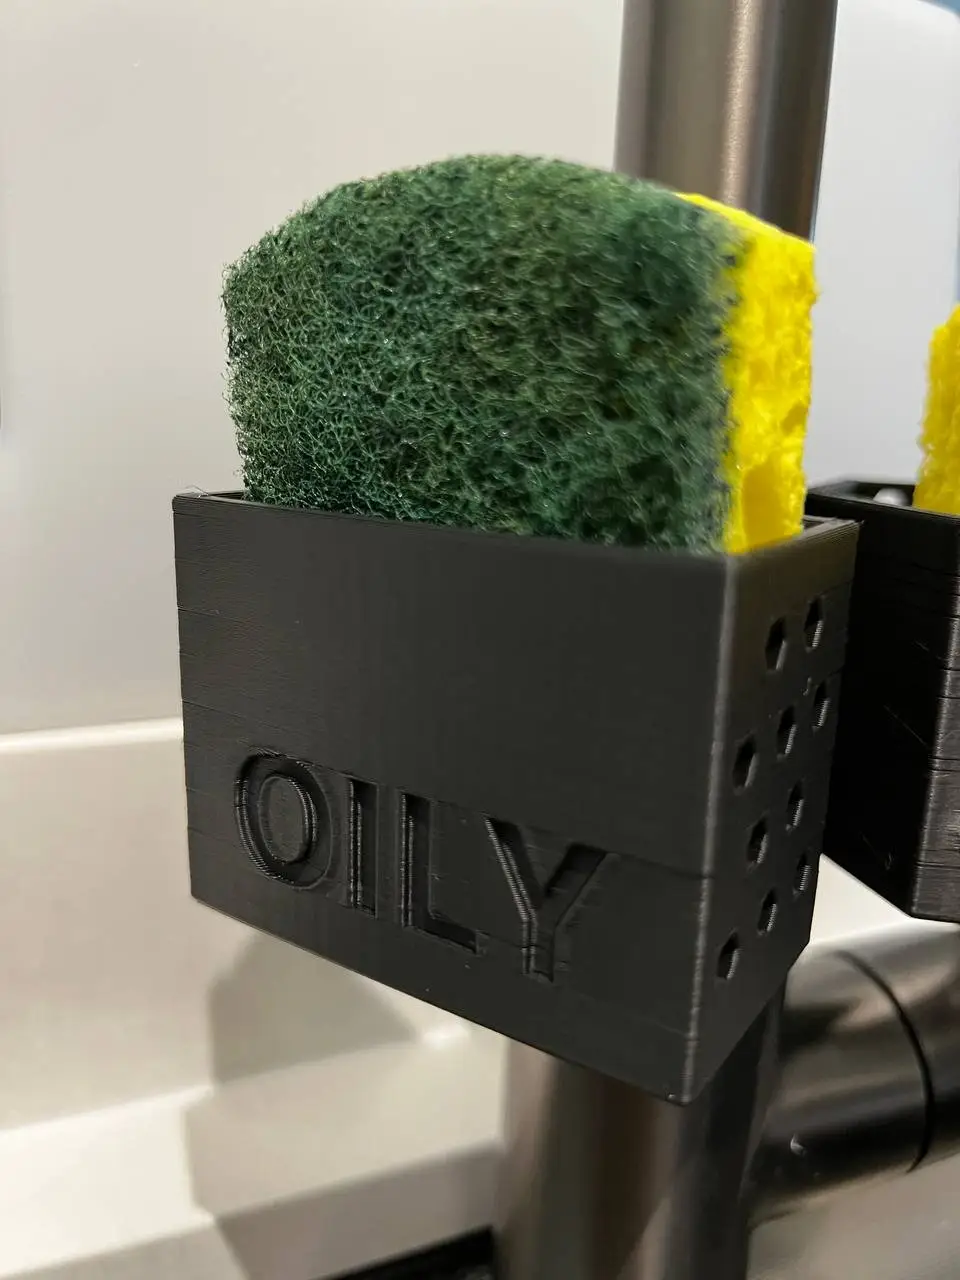 1mm debossing of the "OILY" holder facade
The first print fit almost everything perfectly. Almost. The clamp ended up being slightly too large, which caused the holder to swivel freely around the faucet spout. To fix this, I added adhesive grips to the inside of the clamp. These provide extra friction, protect the faucet from scratches, and reduce the effective clamp diameter. And with that, the holder is ready for use.
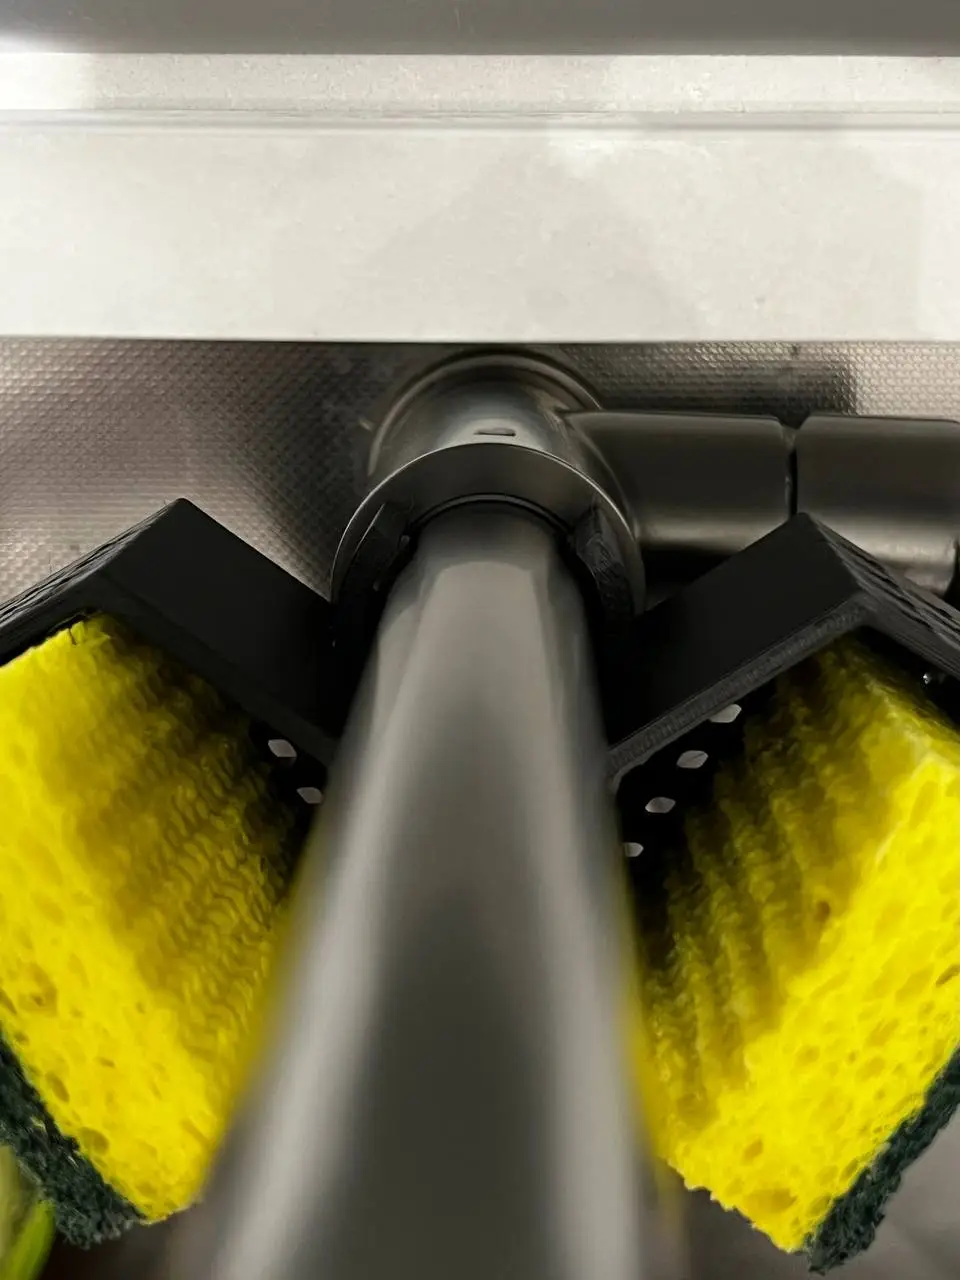 Adhesive grips inside the clamp, can you spot it?
Grand Piano Musical Box Restoration
 Grand Piano Musical Box Restoration
Technical Details
- Material: PLA (Black and Green)
- Print Time: ~15 minutes
- Layer Height: 0.2mm
- Support: Yes
- Post-Processing: Spray painting
Design Process
Early in our relationship, I noticed a treasured musical box that belonged to my wife. It had been accidentally dropped, leaving several acrylic components cracked, broken, or simply missing. While it still played beautiful melodies, it was no longer in pristine physical condition. Knowing how much it meant to her, I promised I would help restore it once we moved into our own place.
When I first revisited the box, my initial idea was to patch the fractured acrylic pieces directly. However, after getting access to my own 3D printer through a course by SkillsFuture SG and Republic Polytechnic, I realized there was a cleaner and more reliable approach: CAD and 3D printing.
I began by carefully inspecting the damage, taking note of any missing or broken parts. I then disassembled the damaged components from the musical box to understand how they were originally fabricated and assembled.
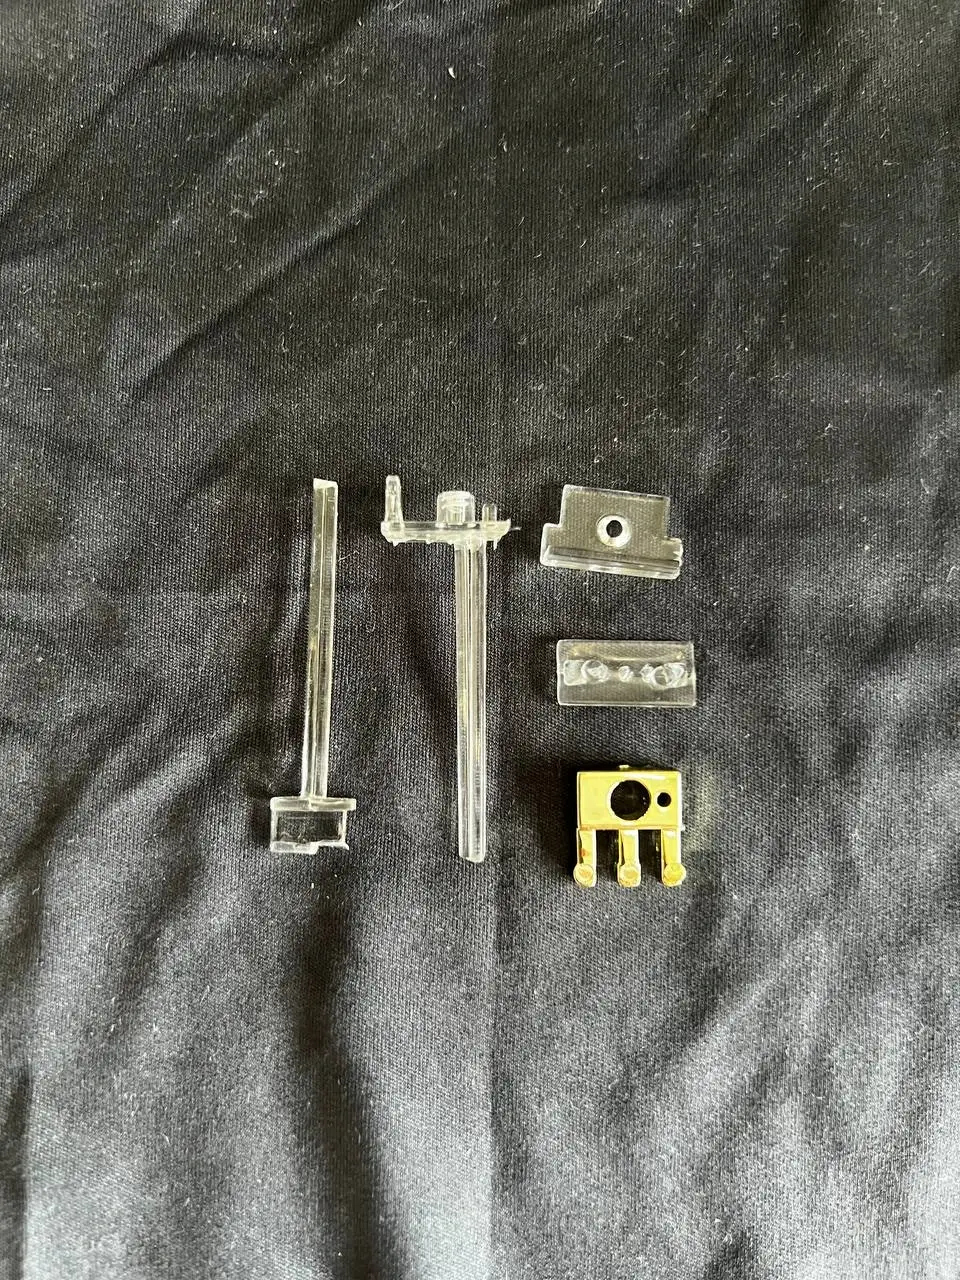 The broken parts from the musical box. Notice the completely intact golden pedals.
With the damaged parts identified, I measured each fragments and recreated them in Onshape. I made sure to reuse the golden pedals piece since it was completely intact. The goal was not just to make the replacement parts fit with the surviving original component, but to replicate the original design as accurately as possible.
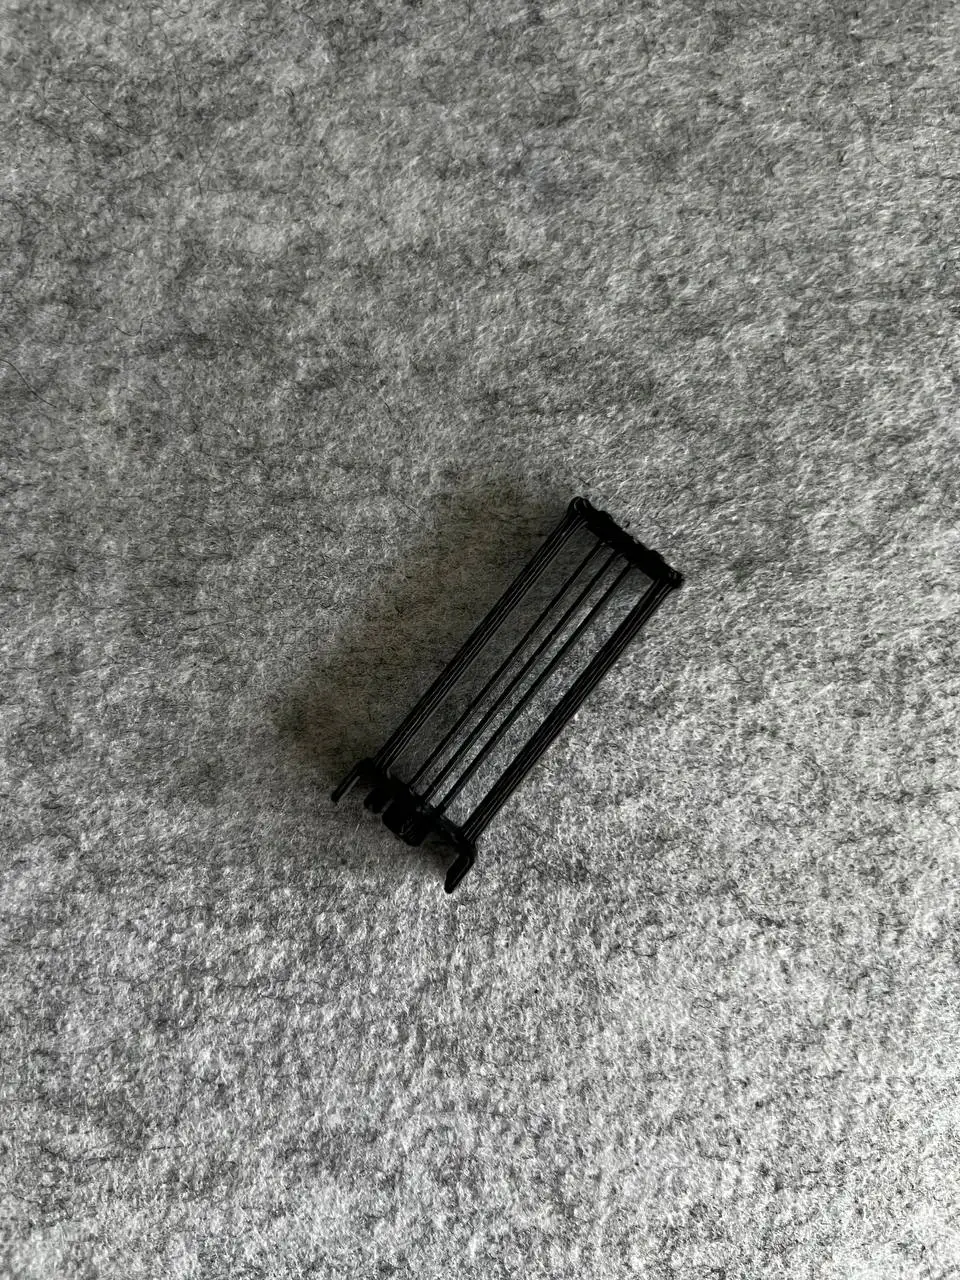 The reprinted broken part. Black was the best color I had.
I also measured, designed, and printed two replacements for the grand piano castor wheels that were missing. While these were originally printed in green, I spray painted them gold to help the printed parts blend better with the lone surviving original castor wheel.
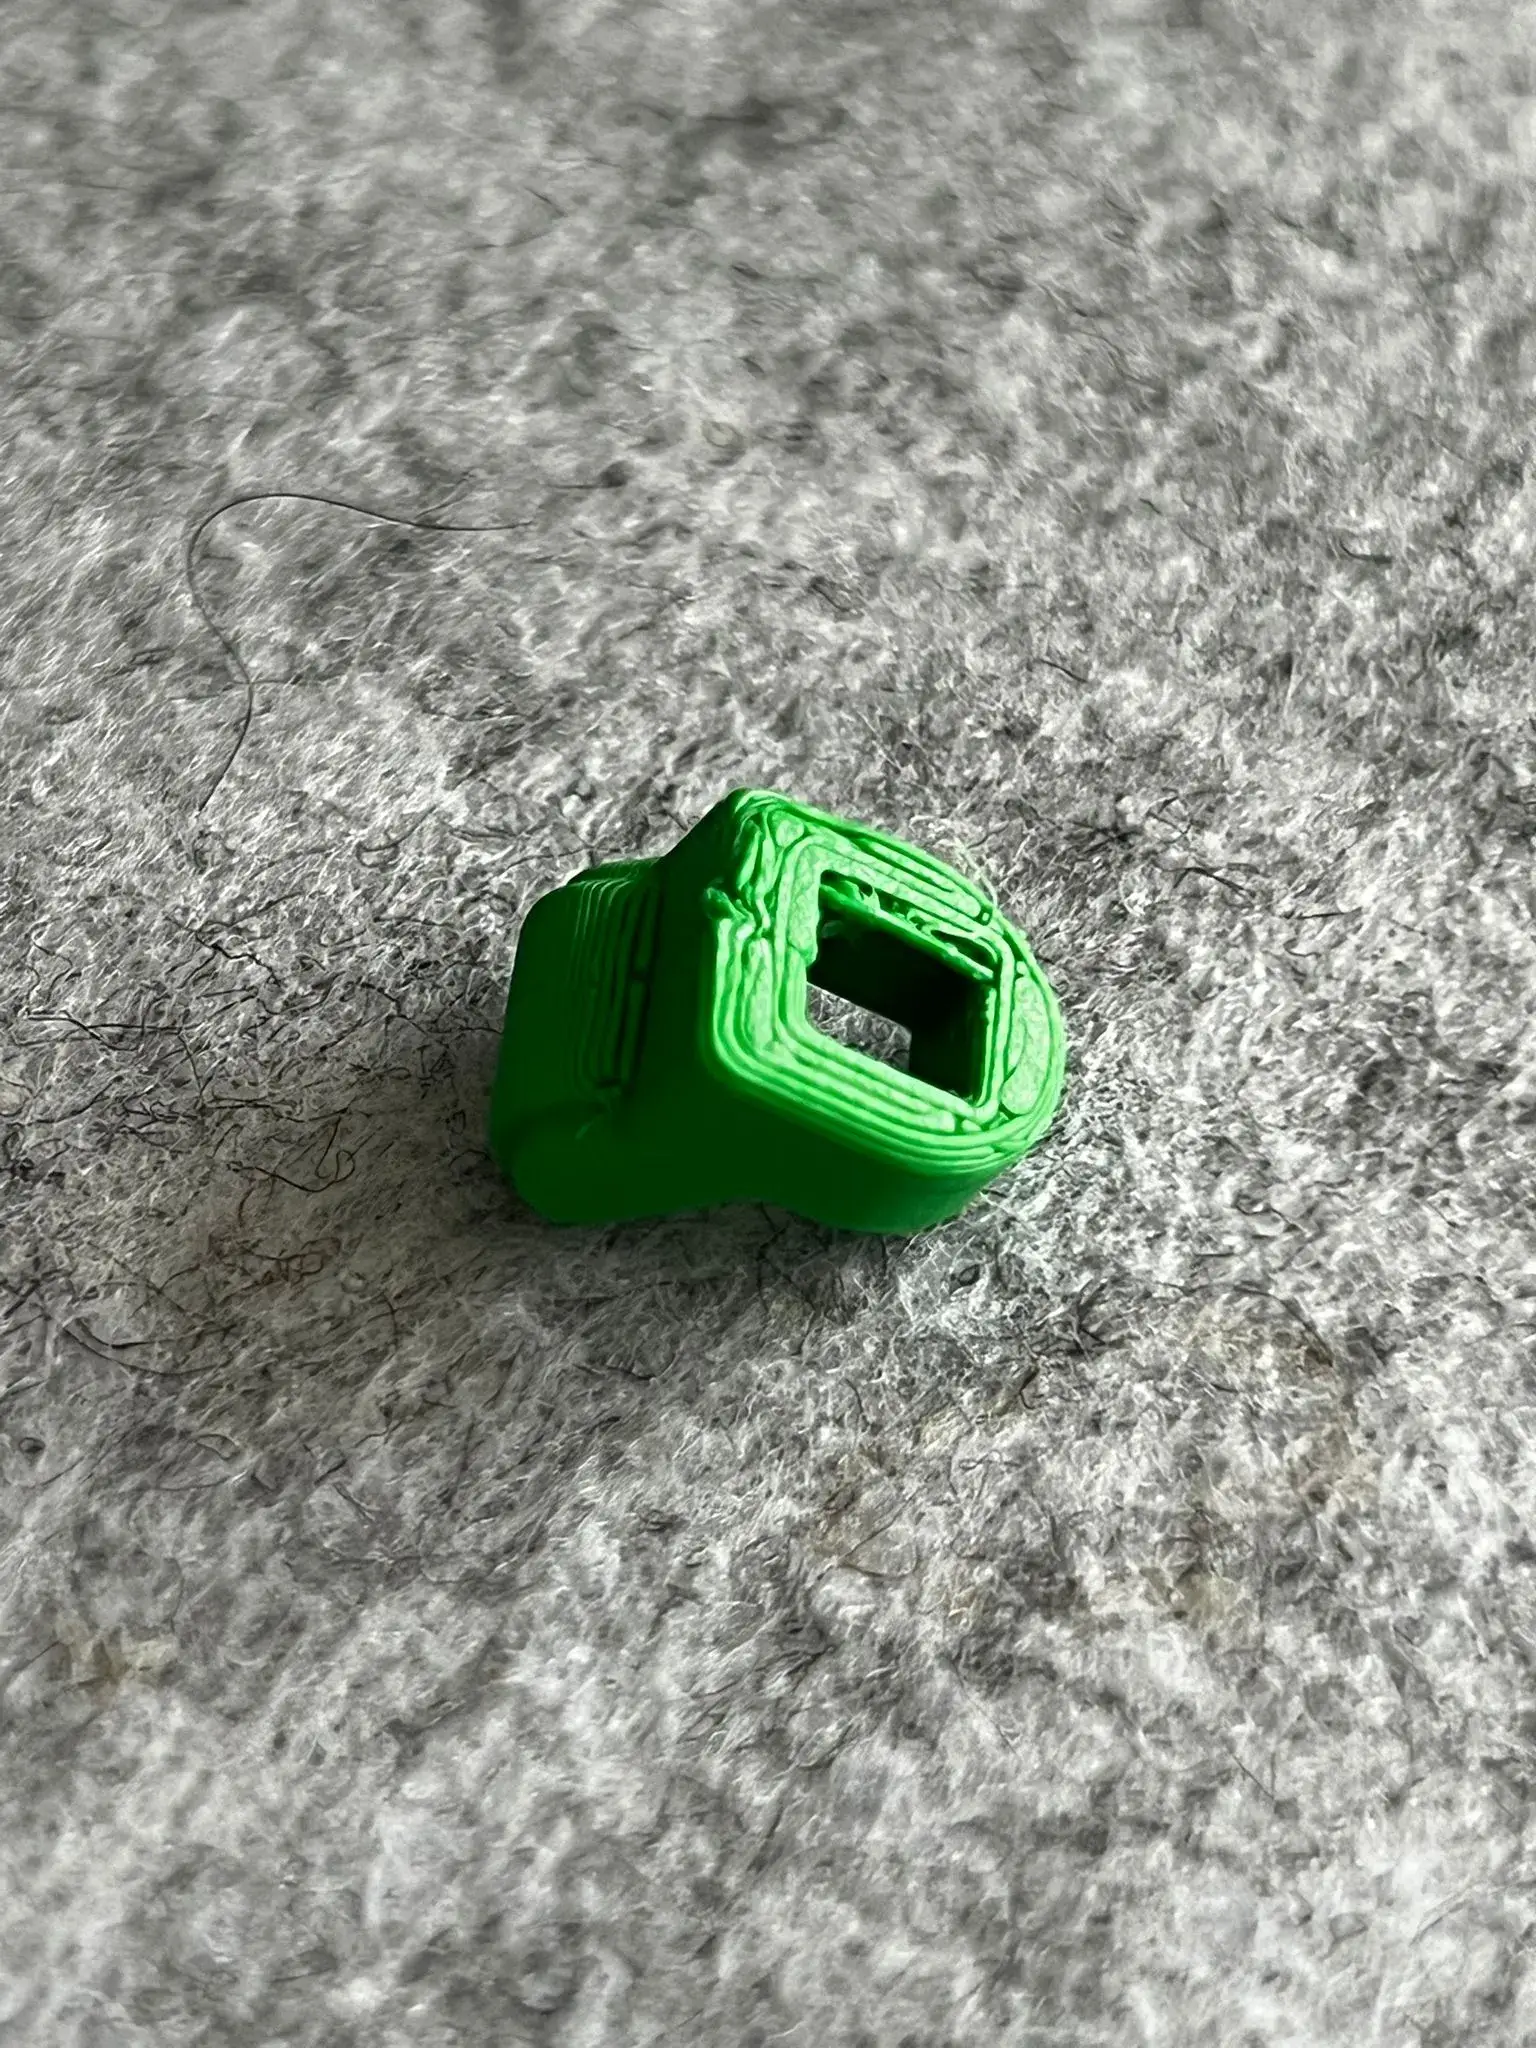 One of the reprinted missing castor wheels before it was spray painted gold.
From design and prototyping to final assembly, the entire process took just over two hours. The replacements are not perfect replicas of the original acrylic parts, but for the time invested, the outcome exceeded my expectations. More importantly, everything fit and functioned exactly as intended.
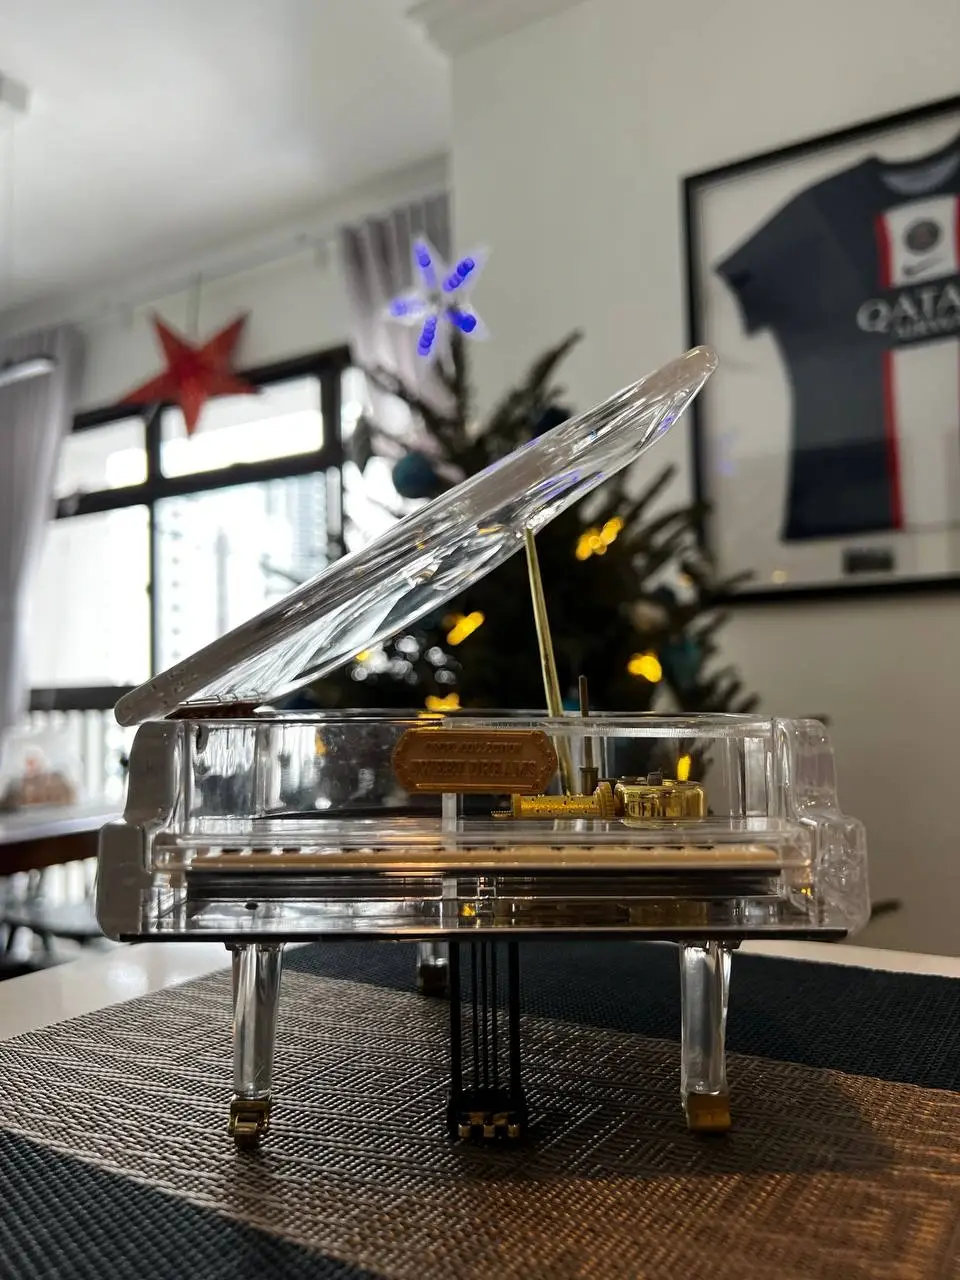
With the new parts installed, the musical box was finally whole again.
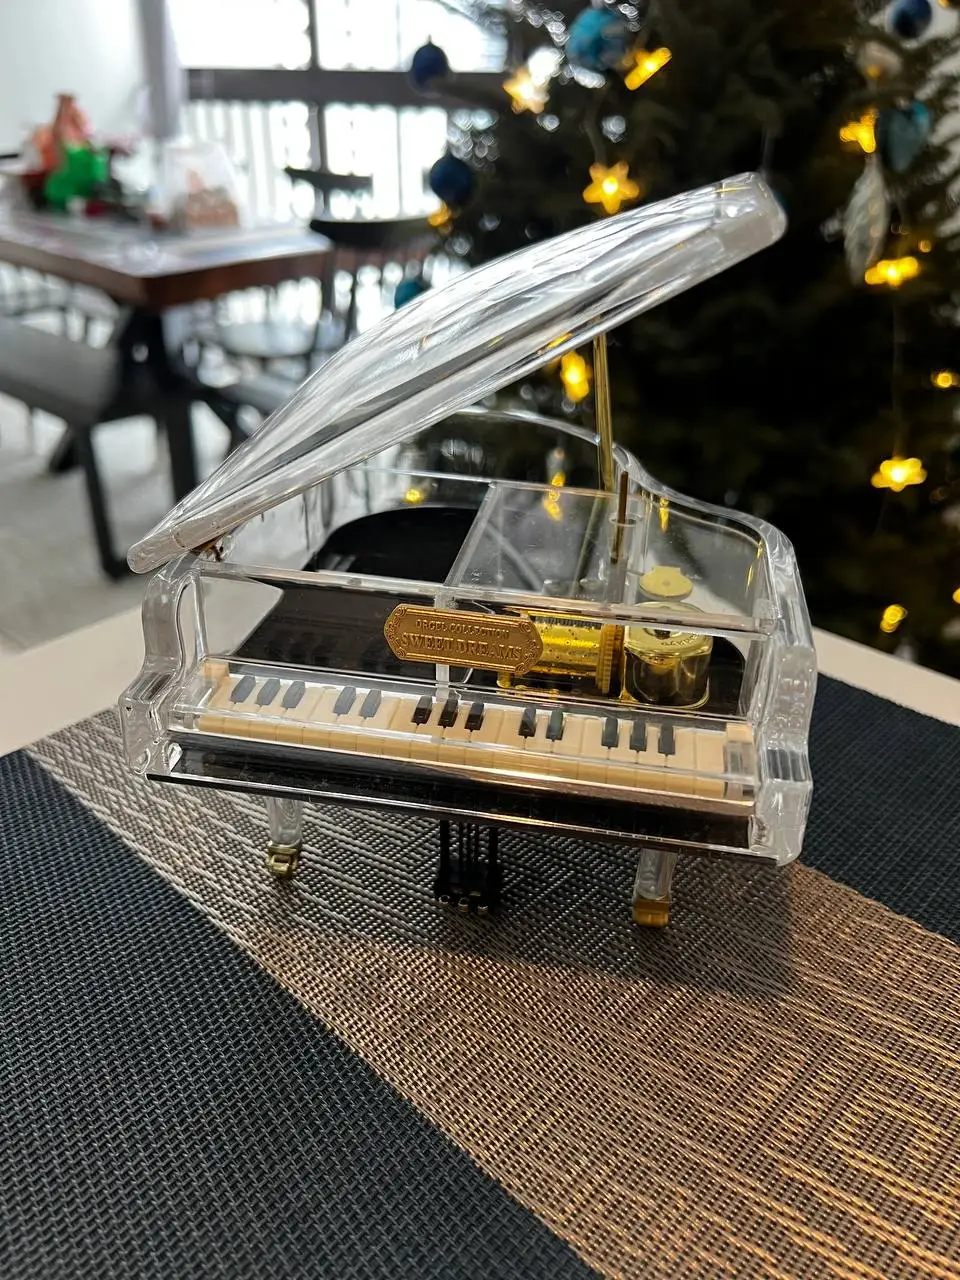 The restored Grand Piano Musical Box